

How to Fix a Leaky Pipe: A Step-by-Step Guide for Homeowners
Why Do Pipes Leak? Understanding the Common Culprits
Before you can fix a leak, it's helpful to understand why it happened in the first place. Just like a hero needs to know their enemy, knowing the cause can help prevent future leaks. Here are some common reasons why pipes start leaking:
Old Pipes Eventually Break Down
All pipes, no matter how tough, wear down over time. Much like Mario losing power-ups, age takes a toll on pipes, creating cracks and weak spots. Older homes are more prone to this problem, particularly if they use galvanized steel pipes, which corrode as they age.
High Water Pressure: Too Much of a Good Thing
Water pressure is great—until it’s too much. Excessive pressure puts stress on pipes and joints, leading to tiny leaks that can expand over time. Think of it like hitting the turbo button too many times: eventually, things start to break down.
Clogs That Cause Pressure Buildup
Blockages in the pipe create pressure that the pipe walls aren’t built to handle. Whether it's grease buildup, hair, or foreign objects, the result can be a burst pipe or a persistent leak. Addressing clogs early on is key to avoiding these types of leaks.
Corrosion Over Time
Some materials, like galvanized steel, are particularly susceptible to corrosion. This corrosion weakens the pipe, eventually causing leaks or even full-on breaks. As time goes on, rust builds up, creating a weak point that can cause serious issues.
Gear Up! Tools and Materials You Need to Fix a Leaky Pipe
Before starting your pipe-repair adventure, make sure you have the right tools and materials on hand. Here’s what you’ll need:
- Essential Tools: Pipe wrench, adjustable wrench, hacksaw, bucket, plumber’s tape.
- Materials Required: Pipe joint compound, epoxy putty, pipe clamps, replacement piping, repair tape.
- Safety Gear: Safety gloves, goggles, and towels to keep you safe and minimize mess.
With the right equipment, you’re ready to tackle this DIY mission like a true plumbing champion.
Step-by-Step: How to Fix Your Leaky Pipe Like a Pro
Ready to fix that leak? Let’s go step-by-step through the process and put that leak to rest once and for all.
Step 1: Turn Off the Water Supply (And Drain the Lines)
Before starting any plumbing work, you need to locate and turn off the main water supply. Look for the main shutoff valve—it’s usually in the basement, garage, or outside near the foundation. Once you’ve turned off the valve, drain any remaining water by opening a faucet connected to the leaky pipe. It’s like pausing the game before making a major move—you don’t want unexpected surprises!
Step 2: Locate the Leak
To fix the problem, you first need to find the source. Check for visible signs like wet spots, puddles, or discoloration on walls and ceilings. If it’s not immediately apparent, use a paper towel to test suspect areas and identify any moisture.
Step 3: Assess the Damage and Choose Your Fix
Now that you’ve found the leak, let’s determine the best approach:
- Loose Joints: For leaks around joints, you’ll want to apply plumber’s tape or joint compound.
- Small Cracks or Holes: Minor cracks can be repaired using epoxy putty or repair tape. These are easy fixes for small issues.
- Corroded Sections: If corrosion is the problem, you may need to cut out and replace the damaged section of pipe.
Step 4: Fix the Leak – Apply the Proper Solution
This step involves applying the correct fix based on the problem you identified:
Fixing Small Leaks in Pipe Joints
If you’ve got a leaky joint, wrap plumber’s tape around the threads of the loose fittings. Make sure to wind the tape snugly for a secure seal. Alternatively, apply pipe joint compound around the joint for extra security. This simple step can often stop leaks in their tracks.
Repairing Cracks or Small Holes with Epoxy or Repair Tape
For small cracks, knead epoxy putty until it’s thoroughly mixed, then press it over the leak. Smooth it out and let it cure according to the manufacturer’s instructions. Repair tape works similarly—just wrap it tightly around the damaged area. Think of it as giving your pipe a shield for extra protection.
Replacing a Damaged Pipe Section
If the pipe is too damaged to patch, you’ll need to replace it. Start by measuring the damaged section and mark where you’ll cut. Use a hacksaw to carefully cut out the damaged portion. Next, insert the new pipe and use slip couplings or push-fit connectors (like SharkBite) to secure it. If you’re feeling confident, solder the new joints for a long-term fix. Remember, precision is key here—measure twice, cut once!
Step 5: Turn the Water Back On and Test Your Work
Once the repair is complete, slowly turn on the main water supply and watch for leaks. Pay close attention to the area you just repaired—if you notice any drips, you might need to tighten a joint or apply a little extra sealant. Like a boss battle, this final step ensures the victory is truly yours.
Keep Your Plumbing in Shape: Tips to Prevent Future Leaks
Now that you've tackled the leak, let's talk about preventing future issues. Here are some tips to keep your plumbing in peak condition:
Conduct Routine Inspections
Check your pipes twice a year for signs of wear and damage. It’s much easier to stop small problems early than face a big boss later. Look for discoloration, corrosion, or any damp spots that could indicate a developing leak.
Manage Your Water Pressure
If your water pressure is too high, it can stress your plumbing system. Consider installing a water pressure regulator to keep the pressure at a safe level, extending the life of your pipes.
Address Clogs Promptly
A clogged drain might not seem like a big deal, but it creates pressure that can damage your pipes over time. Avoid pouring grease down the drain and use drain guards to prevent hair from clogging the system. Handle clogs as soon as they arise to avoid bigger problems.
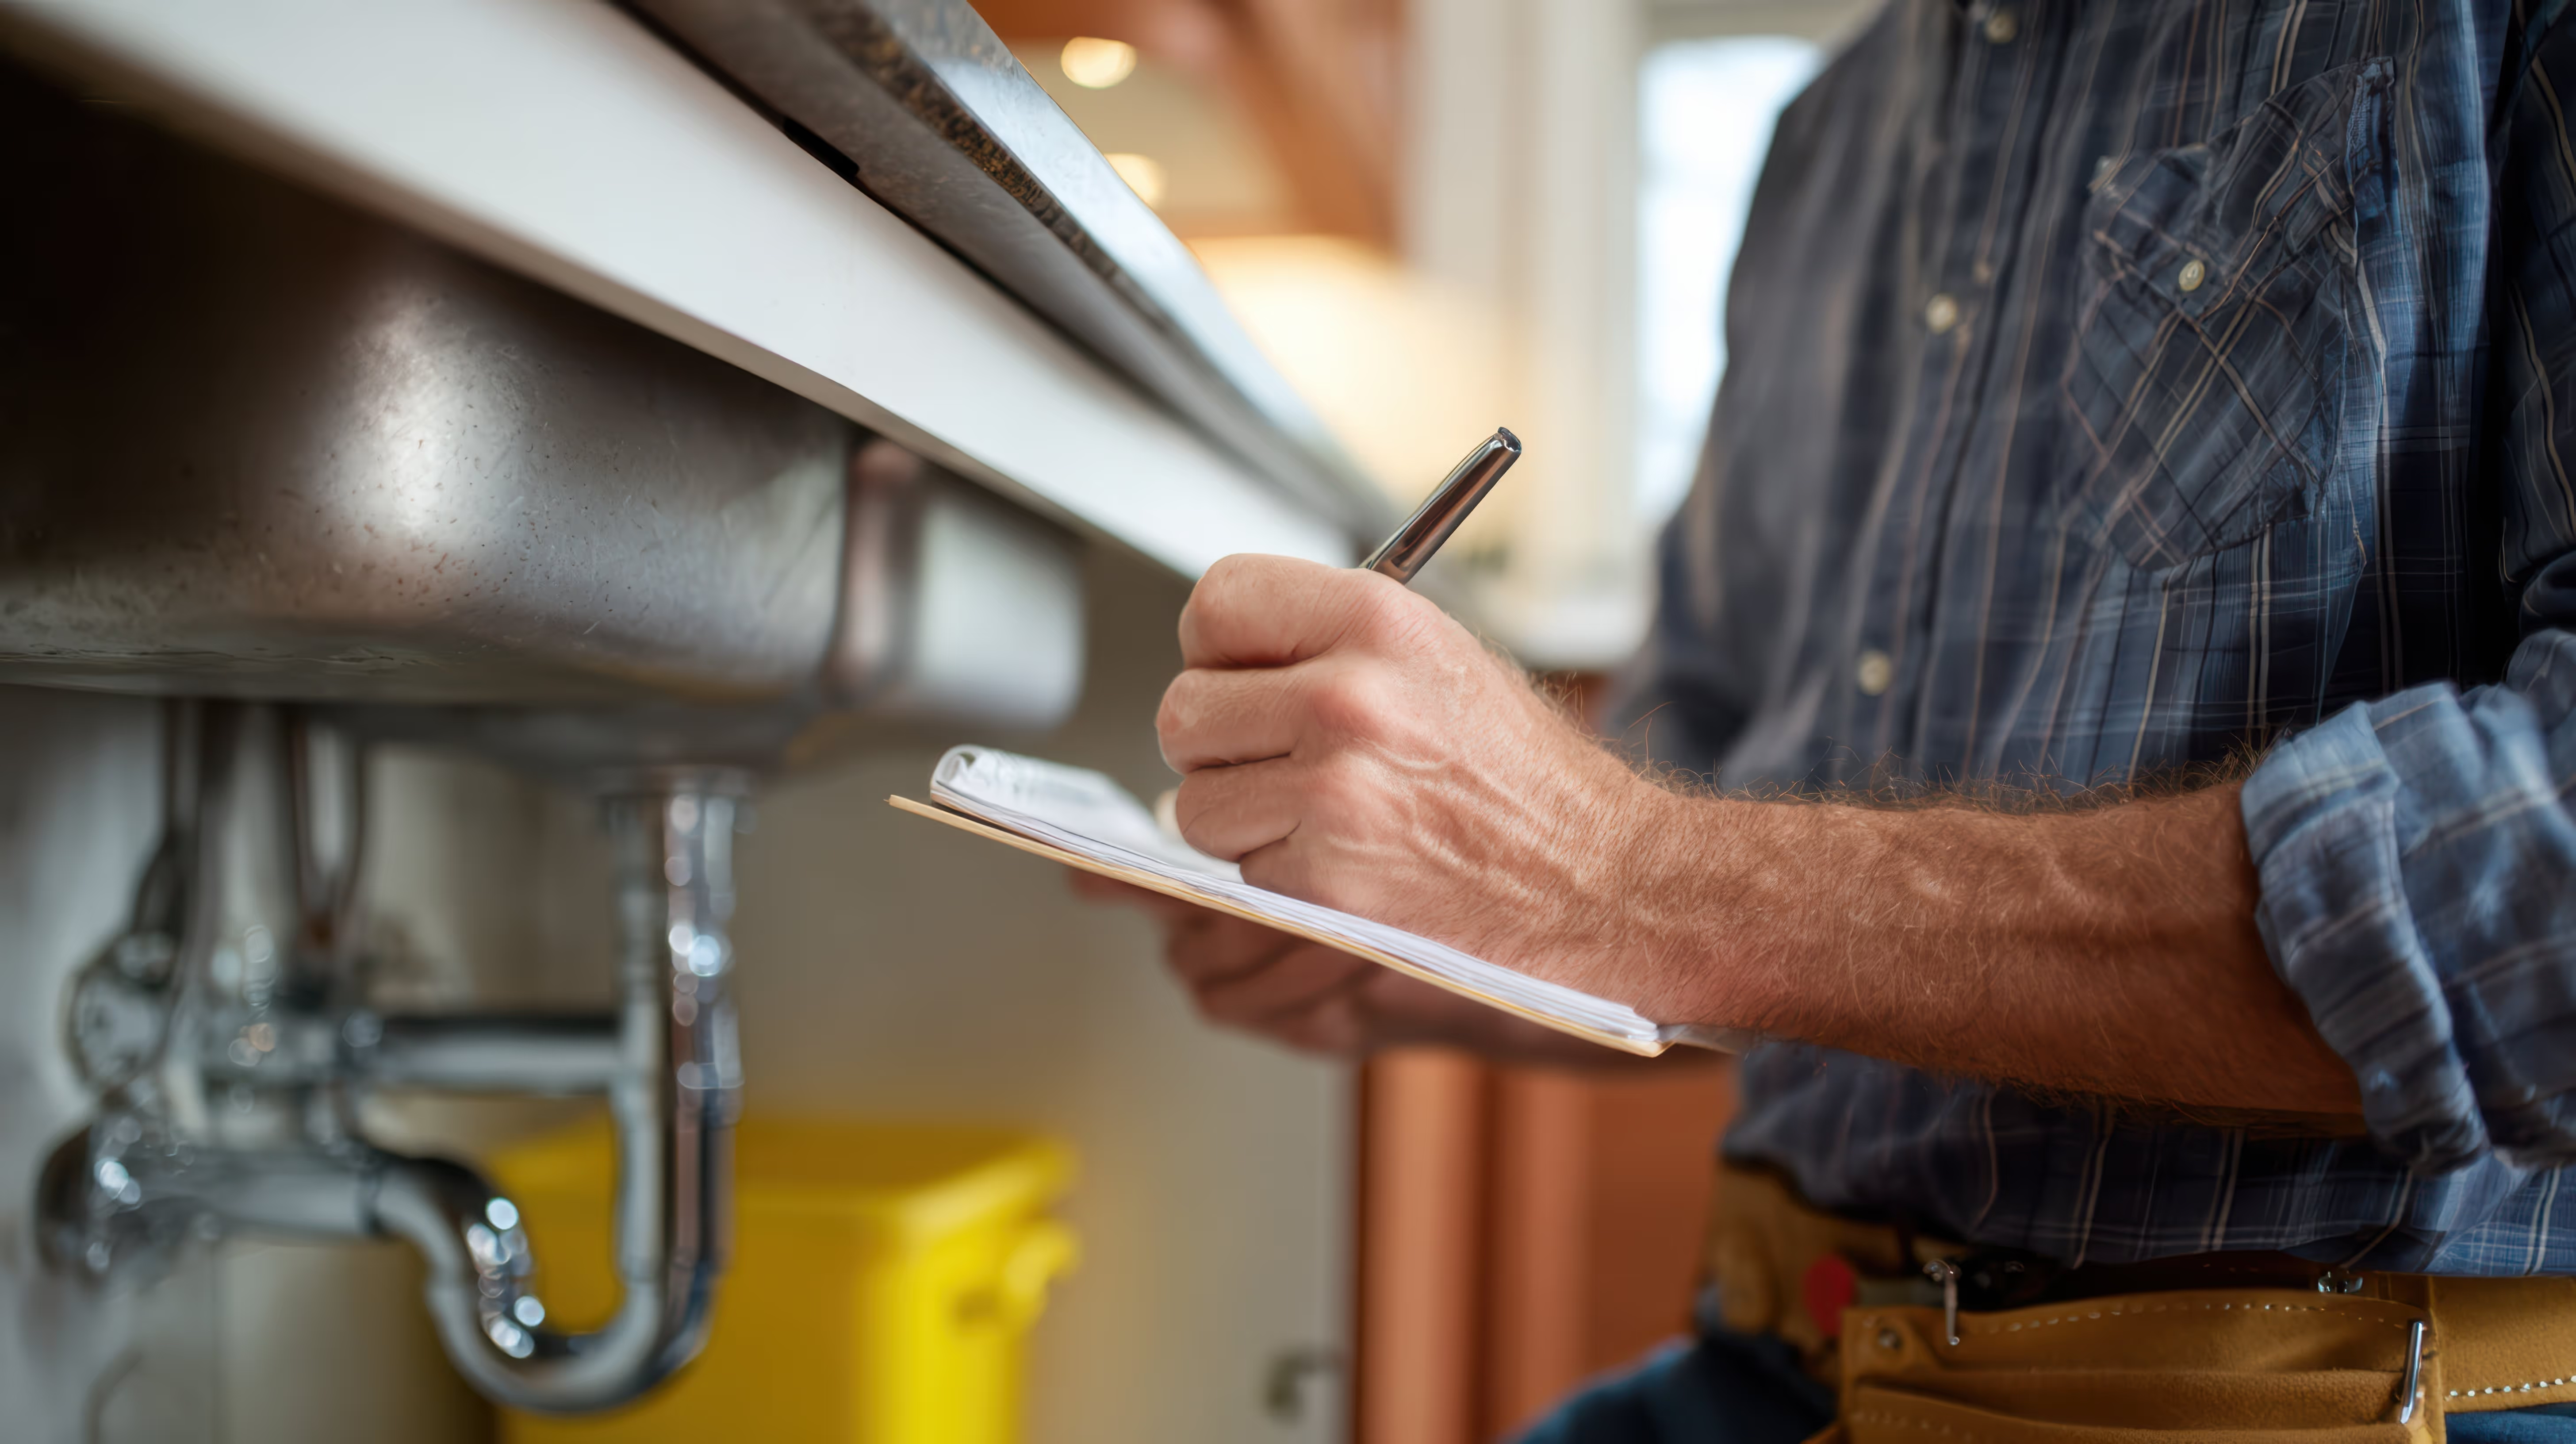
When to Call in the Pros: Know Your Limits
Sometimes, it’s best to call in an expert plumber. If you encounter multiple leaks, extensive corrosion, or if you need to work with gas lines, don’t hesitate to seek professional help. Your safety is always the top priority, and complex issues can quickly get out of hand without the proper tools and expertise. When in doubt, it’s always a good idea to call Good Fit Plumbing for a trusted and reliable solution.
Frequently Asked Questions About Leaky Pipes
Can I Use Duct Tape to Fix a Pipe Leak?
Duct tape can work as a temporary fix, but it’s not a long-term solution. It doesn’t provide the waterproof seal needed for a reliable repair, and the leak will likely return. Stick to pipe repair tape or epoxy for a more secure solution.
How Long Does Epoxy Putty Take to Cure?
Most epoxy putties cure within 5 to 10 minutes, but full curing can take up to 24 hours. Always check the manufacturer’s instructions for the best results.
What Are the Main Causes of Repeated Pipe Leaks?
Repeated leaks are often caused by high water pressure, aging pipes, or improper previous repairs. If you’re dealing with frequent issues, it might be time to replace the affected section of the plumbing or consult a professional plumber.
Level Up Your Plumbing Skills and Say Goodbye to Leaks
Fixing a leaky pipe may seem like a daunting task, but with the right guidance and tools, it’s a DIY quest you can handle. By following this step-by-step guide, you can tackle leaks, prevent water damage, and save money on costly repairs. And remember, if you ever run into a level that seems too tough to beat, Good Fit Plumbing is here to help. Contact us today for professional plumbing support that keeps your home running smoothly!


What Our Customers Say
The Good Fit Plumbing Process
.svg)
Step 1: Get in Touch
Step 2: Schedule an Appointment
Step 3: On-Site Evaluation
Step 4: Transparent Quotation
Step 5: Expert Service Delivery
Step 6: Review and Follow-Up
Why Choose Good Fit Plumbing

Fully Licensed Team

No Hidden Fees

Our Priority Is You

High Standards
Serving Your Community
Service Areas

Service Areas

Service Areas

Service Areas

Service Areas

Service Areas
